Every value in a Revit window schedule comes straight from the family and type behind it. Build the schedule right, and the real work becomes making sure the families feeding it are set up correctly.
Ready to simplify this workflow? Join BIM Depot for instant access to the full Revit asset library.
Build the Revit window schedule
Go to View tab > Create panel > Schedules dropdown > Schedule/Quantities, set the category to Windows, and click OK. On the Fields tab, add the parameters you need, commonly Type Mark, Width, Height, and Sill Height. To limit results to particular floors, switch to the Filter tab and add a rule such as Level equals Level 2, then use the Sorting/Grouping tab to group and sort by level so the schedule reads top to bottom the way the drawing set does.

Name the schedule on the upper right side text box. Ensure that you have the correct phase selected in the drop down box in the lower right hand corner.

Match the schedule to your families
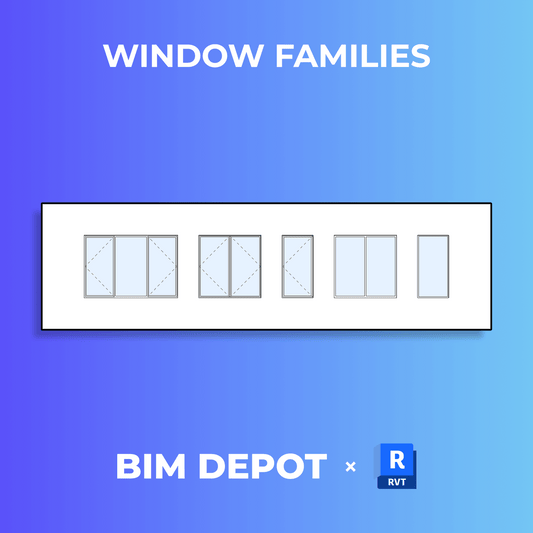
Because the schedule reads parameters directly off each window family and type, any gap in the family shows up in the schedule. A missing sill height, an untyped rough opening parameter, or inconsistent type naming across a window line all surface as blank or mismatched schedule cells, and they have to be fixed in the family, not the schedule. Families with complete, consistently structured parameters produce a schedule that's accurate as soon as it's generated.
Keep it Repeatable
Save a formatted, filtered window schedule in your project template once you've got it right, and it carries forward automatically on the next project, ready the moment windows are placed.
Build schedules with no cleanup using fully parametrized families from the BIM Depot Window Revit Family Collection.
BIM Depot is an independent provider of Revit resources and is not affiliated with, endorsed by, or sponsored by Autodesk or its subsidiaries.